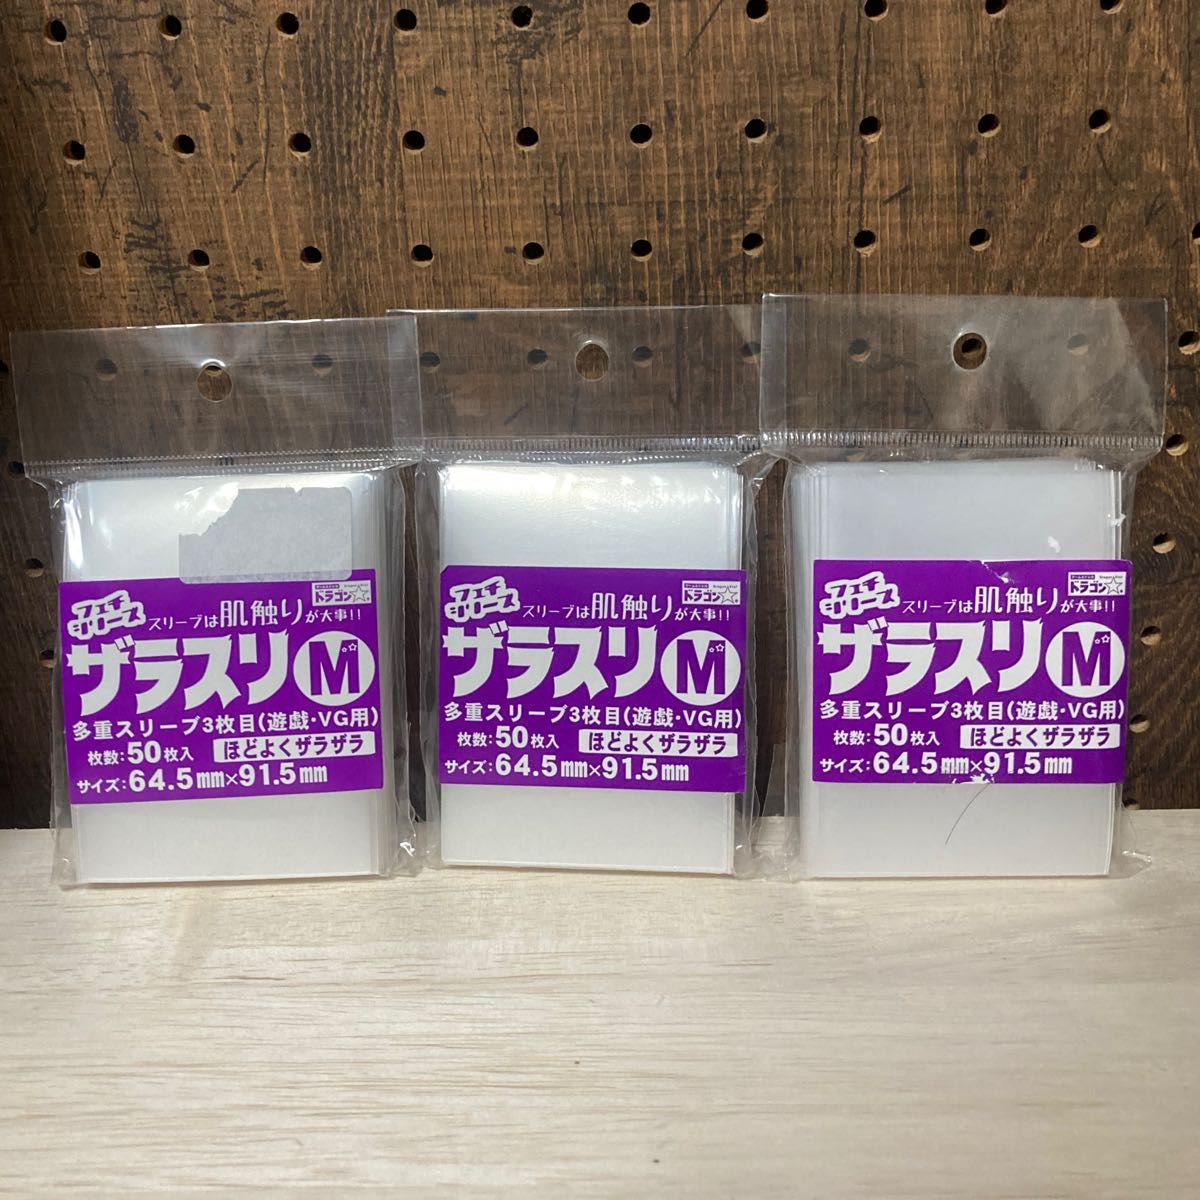
ザラスリ m 50枚入り 未使用
(税込) 送料込み
商品の説明
袋が開いてしまっておりますが
中身は未使用で50枚入っております
ご理解のうえご購入お願い致します
+でクリックポスト(土日祝も配達)
+でネコポス(匿名配送、土日祝も配達)
に変更可能ですお気軽にお申し付けください
よろしくお願い致しますm(_ _)m
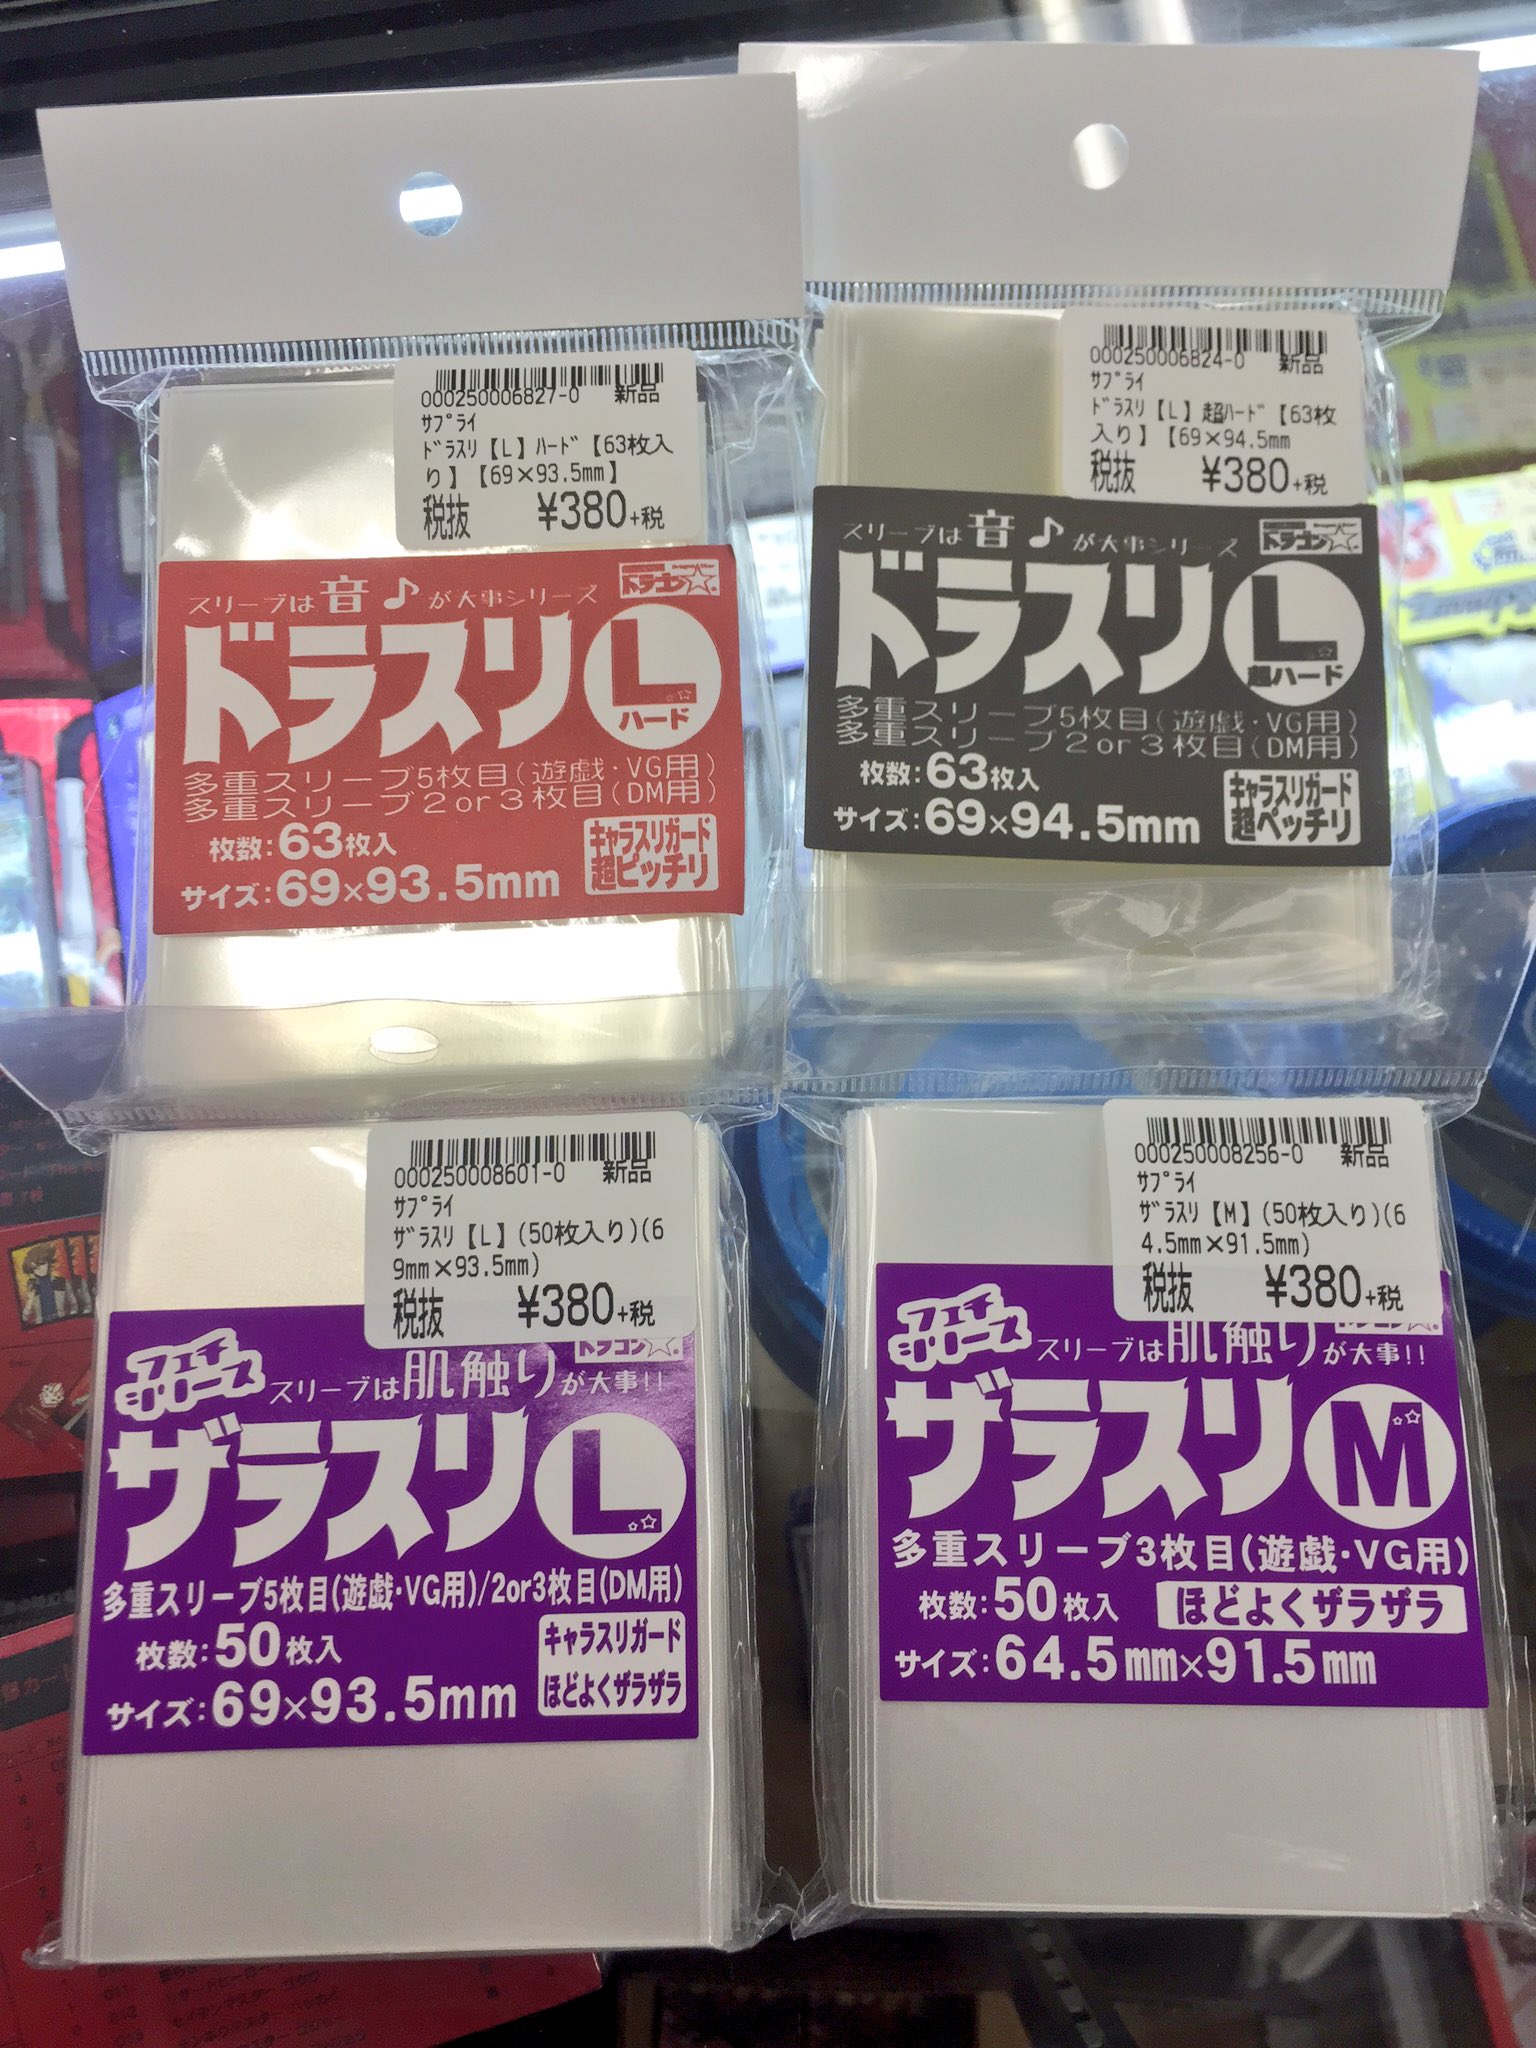
ドラスタ ドラスリ ザラスリ
ザラスリm スリーブ商品の情報
| カテゴリー | おもちゃ・ホビー・グッズ > トレーディングカード > スリーブ |
|---|---|
| 商品の状態 | 未使用に近い |

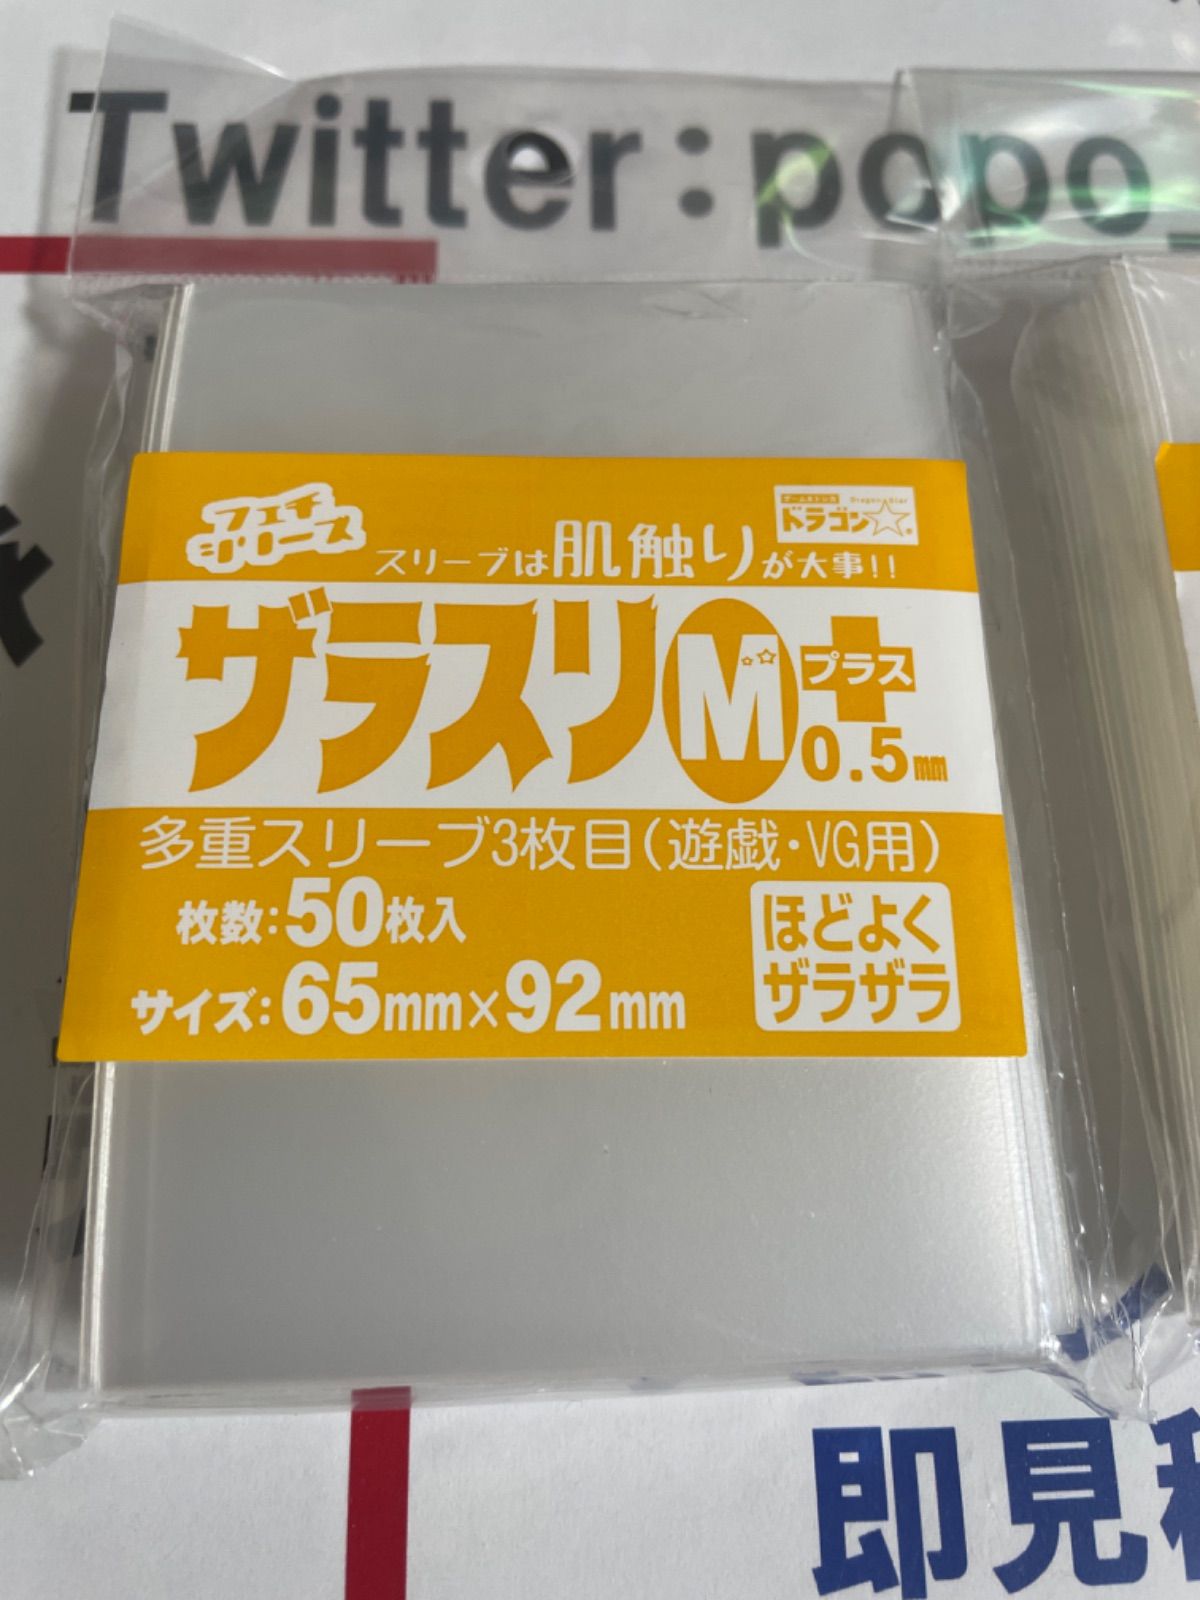
ザラスリm+ new 50枚入り 2つセット 未開封 補償付き! 本格派ま

百貨店ザラスリm 50枚入り 未開封 2つセット 補償付き! スリーブ

79%以上節約 ザラスリ m 50枚入り 未開封 2個セット cerkafor.com

最大97%オフ! ザラスリm 50枚入り 未開封 2つセット 補償付き tbg.qa

お買い得品 ザラスリ m 50枚入り 未開封 2個セット cerkafor.com

品質のいい ザラスリm 50枚入り 未開封 2つセット 補償付き hirota.com.br

ザラスリm+ 50枚入り未開封 2つセット 補償付き! ☆決算特価商品

うのにもお得な情報満載!ザラスリm 50枚入り 2つセット スリーブ

低廉 ザラスリm 50枚入り 未開封 2つセット 補償付き moradascascavel.com

ザラスリ m 50枚入り 3個セット ☆お求めやすく価格改定☆ 68.0%OFF

送料無料限定セール中 ザラスリm+ 100枚入り 未開封3つセット 補償付き

新作 人気 ザラスリ m 50枚入り 3個セット rahathomedesign.com

名作ザラスリM 50枚入り 2個 スリーブ | bodegasanchezsa.com

お買い得品 ザラスリ m 50枚入り 未開封 2個セット cerkafor.com

春の新作続々 ザラスリm 50枚入り 未開封 2つセット 補償付き
低廉 ザラスリm 50枚入り 未開封 2つセット 補償付き moradascascavel.com

新品即決新品即決ザラスリL 50枚入り 未開封 2つセット スリーブ

すぐったレディース福袋 ザラスリm 50枚×7個 未開封 savingssafari.com

年末のプロモーション特価!ザラスリl 50枚入り 未開封2つセット 補償

70%OFFアウトレット ザラスリ ドラスリ m 1個 100枚入り 300枚 zppsu
99%以上節約 ザラスリm 未開封 fawe.org

ザラスリ ドラスリ m 150枚入り とっておきし新春福袋 adoraspa.ca

未開封 スリーブ NEW ザラスリ Lプラス 50枚入 スリーブ | www.trabi.vn

当店一番人気 ザラスリm 50枚 3個 スリーブ | eadwyden.com.br

最低価格の ザラスリ M 50枚入 6個セット 1517.747円 トレーディング

満点の ザラスリ m 50枚入り 3個セット parceirocfc.com.br

ザラスリm 50枚入り 3個セット 未開封 【60%OFF】 www.shelburnefalls.com

内祝い】 ザラスリL+50枚入り スリーブ - www.ionenergy.co

在庫あり/即出荷可】 ザラスリ m 50枚入り 6個セット 未開封 iauoe.edu.ng

2021年最新入荷 ザラスリl 未開封 fawe.org

ザラスリm+ 未開封 ✨レア!✨ funleucemialinfoma.org
正規店仕入れの ザラスリl+ 未開封 nmef.com

日本限定 ザラスリm 50枚×7個 未開封 スリーブ

半額 ザラスリ M 100枚 ドラスリ ② aob.adv.br

【限定特価】ザラスリL 100枚 新品 未開封

ザラスリm スリーブ | www.trabi.vn

新作 人気 ザラスリ m 50枚入り 3個セット rahathomedesign.com

76%OFF!】ザラスリm 50枚 3個 スリーブ | fuji-sun.nagoya

超格安価格ドラスタ ドラゴンスター ザラスリM 新品未使用 100枚入り 2

激安アウトレット!】 新品未開封 ザラスリM 100枚入×2 200枚

商品の情報
メルカリ安心への取り組み
お金は事務局に支払われ、評価後に振り込まれます
出品者
スピード発送
この出品者は平均24時間以内に発送しています


